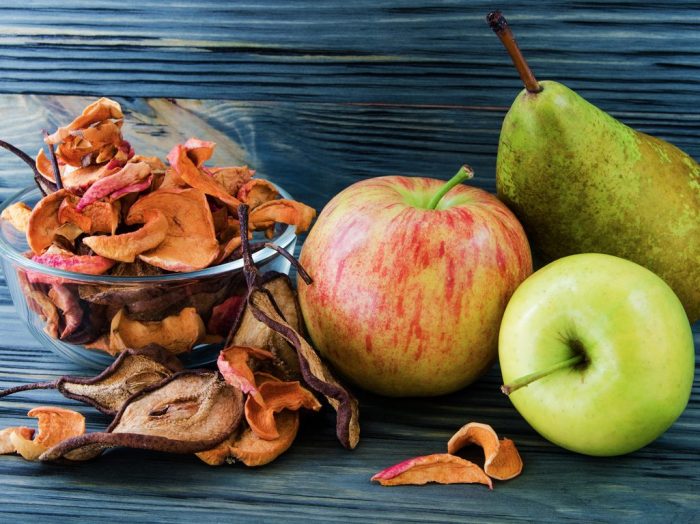
Homemade fruit chips are not a novelty, our ancestors made them with less effort, without adding sweeteners and preservatives. You can make them too in a healthy way!
Before getting married, my grandmother lived in a poor family, with many children. They didn’t have money for buying sweets and they mostly ate foods from their own yard, from meat to homemade dairy, vegetables, grains, and fruit they grew in their own garden. Store-bought foods were a rarity in their kitchen, and that means sugar too. So, they didn’t make desserts often.
My grandmother kept the habit of not consuming too many sweets her entire lifetime. Even during the cold season, when she didn’t have seasonal fruit, she would still have some sweet natural treats she made ahead of time. When I was a child, I also got to eat homemade fruit chips made from apples and pears, but also prunes.
So, if you’ve decided to reduce your sugar intake, to give up – at least for a while – on sweet stuff and, overall, to eat healthier for the following weeks or months, you should also know that homemade fruit chips may be helpful.
When you think of chips, you usually think of salty snacks. But what about your sweet tooth? Opt for homemade fruit chips and don’t buy them from the store, since the store-bought ones usually have sugar or other sweeteners.
Homemade fruit chips to calm down your sweet tooth
1. Homemade baked banana chips
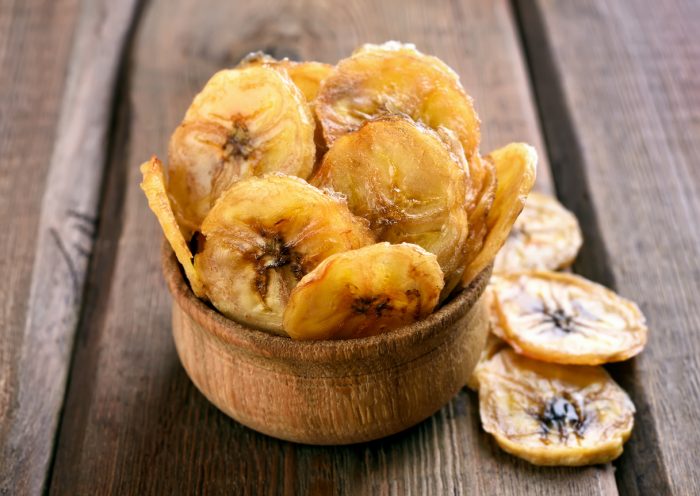
Banana chips are dried slices of bananas. They can be covered with sugar or honey, or can be fried in oil. But we recommend you the healthiest version of homemade fruit chips.
Just slice the bananas (you can use 10 or less, it’s your choice) and squeeze lemon juice over them. Then, arrange the bananas in a single layer on a parchment paper-lined baking sheet. Bake for 2 hours at 200°F (95°C), flip the banana slices with a metal spatula and continue to bake for 1.5 hours longer, or until desired crispness.
Let the chips cool completely on a wire rack then you can store them in an airtight container. The longer you let them cool, the crunchier they will get.
2. Baked cinnamon apple chips
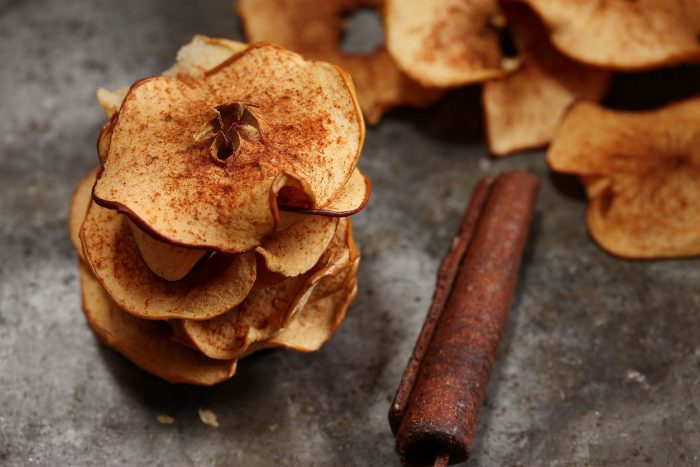
My grandmother just cored apples and cut them into julienne slices. Then, she let the apple spices dry outside for several days (she put them inside for the night, and brought them back outside the next day) until they were dried enough and ready to be packed for the winter. Still, this method takes more time and you need some space to spread the apple slices.
So, try making baked apple chips, because they’re ready in 2 hours! Slice the apples thinly with a mandoline slicer. If you don’t have one, use a sharp knife. A mandoline would make things easier though. Remove leftover seeds in the apple slices and place them in a single layer on a parchment paper-lined baking sheet. That’s the moment you can sprinkle cinnamon over them, then bake the chips at 200°F (95°C) for 2 hours, flipping halfway through. When the time is up, allow your homemade fruit chips to sit on the pan for a few minutes after removing from the oven – they’ll continue to crisp up.
If you want your chips sweeter, you can also add stevia along with cinnamon. Making apple chips will save you a ton of calories.
3. Pear chips
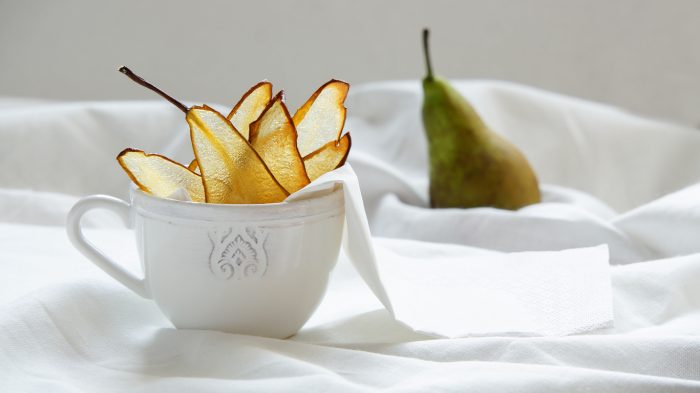
Fresh pears dehydrated into pear chips are delicious. You can make chips by slicing two pears, resulting in a snack for the next few days, or from 10 or more pears, to have enough chips for the next week. Just choose pears that are still slightly green and underripe, so they keep their shape.
For making pear chips, you either follow exactly the steps from the baked apple chips, or you use a dehydrator. Making them in the dehydrator will take from 8 to 12 hours, depending on your dehydrator. When ready, let them cool completely and, when cool and crisp, store in a food-safe container.

