It’s grilling season and it’s super exciting! Our mouths are watering already, thinking of all of the things we’re going to BBQ. And we are not the first ones to point out that there’s an undisputed grilling item that everyone loves. But how to make better-grilled ribs? Ask and you shall find out. Right now!
Ribs are a cut of meat that can be very hit and miss when you apply heat to it. There are so many things that can go wrong… But just as many things that can go right. Layers upon layers of flavor, juicy meat that comes right off the bone, and just the right degree of smokiness. If you’re planning on grilling this long 4th of July weekend, then we have you covered with some tips and tricks for better-grilled ribs.
But don’t leave those ribs all alone on the grill. Try these other foods you can grill to perfection, for a full and diverse plate! If you’re up for experimenting, why not also try and make these barbecue ribs with mushrooms and celery?
5 tips and tricks for better-grilled ribs
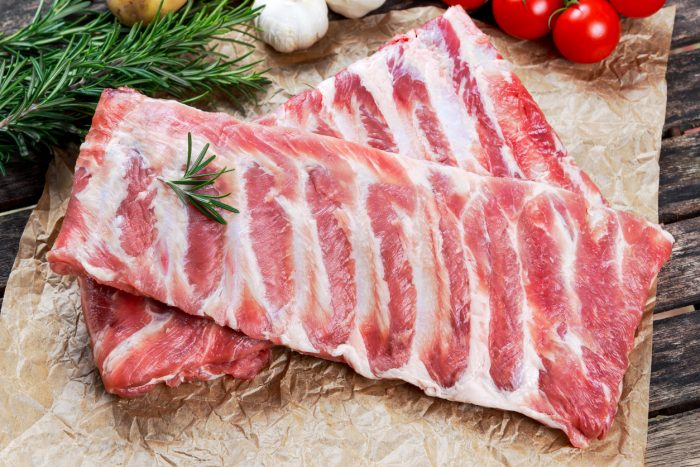
1. Choose the perfect raw ribs
If you haven’t cooked ribs until now, then go for baby back ribs, because they’re simpler to make and they will turn out great (almost) no matter what. Just don’t forget them on the grill, cause we cannot account for that in the process. Baby backs are already tender, so you don’t have to do too much to them.
When you’re buying ribs, make sure that you can’t see the bones too much, the meat should be as plump as possible. Supermarket cuts are ok, but if you have a slightly bigger budget, try getting some from a heritage breed.
2. Remove the white membrane
That membrane you see on the surface of the ribs? It’s called a pleura and it’s so much tougher than the meat underneath it, that cooking the ribs with it might simply ruin everything. You don’t want to aim for better-grilled ribs and end up with something chewy. The membrane also doesn’t let the meat underneath catch all of the flavors you will be applying to it in a minute.
You can find some already prepped ribs at the supermarket, but you can do this, too. So how do you do it? Make an incision in the membrane with something sharp and then grip the ribs safely. Pull of the membrane and you’re good to go, on to the next step!
3. Keep the dry rub balanced
Sugar is one of the key ingredients of a good dry rub. But on the grill, sugar can get burned off quite easily, giving your meat a bitter taste. So, try to not overdo it with the sugar in the rub and also with the rub in and of itself. This is one of those situations where more isn’t more, and less isn’t more either. The middle point is the way to go.
Use salt, pepper, paprika, and brown sugar, in similar proportions. You can also add some extra ingredients that you fancy, like garlic powder or chili powder, if you want something spicier. And after you’ve applied the rub on both sides of the ribs, let them sit for 20 minutes and absorb some of the flavors.
If you’re on the spicy-side of things, try these cajun style ribs!
4. Layer the flavor
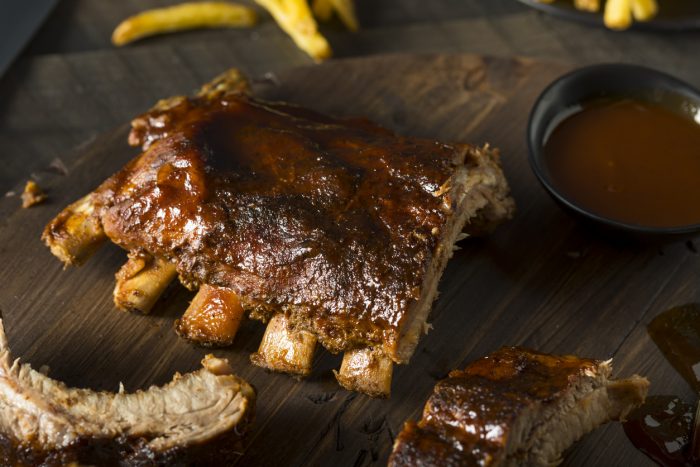
You can either use a dry rub, like above, or you can marinade the rack of ribs before placing it on the grill. Whatever you choose, remember that prepping the meat like that is only a first step. You can also spray the ribs with some apple cider. Or, a more complicated option is to precook the ribs in boiling water which you’ve added 1-2 cups of apple vinegar. Then, in the end, you will apply the barbecue sauce as a glaze, for the last segment of cooking.
5. Use medium heat
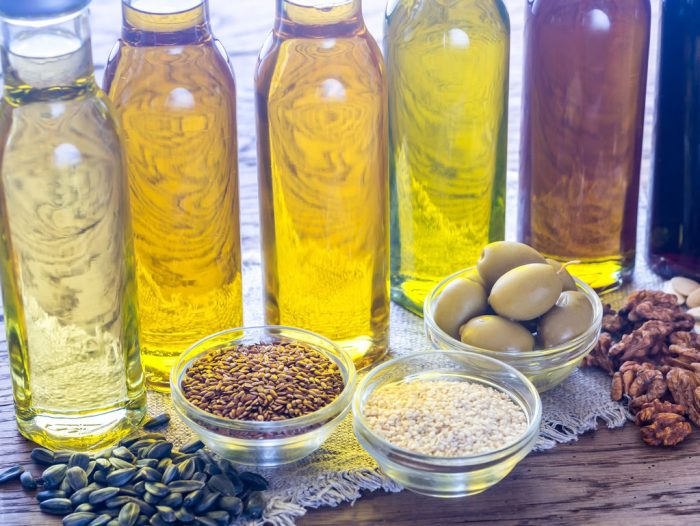
Make sure that the grilling temperature is at a medium before you place the already-prepped rack of ribs on it. To avoid situations where the ribs would stick to the grill, use a brush to spread some vegetable oil on it.
Speaking of which, stay close to the grill and monitor the ribs’ situation carefully. Make sure that the meat doesn’t catch fire. If that happens, though, use a water bottle to put out the flames. Use tongs to flip the meat every now and again.
Bonus tip: don’t forget to let the meat rest after it’s all cooked through. This is how the juices in it get redistributed and the flavor stays impeccable!

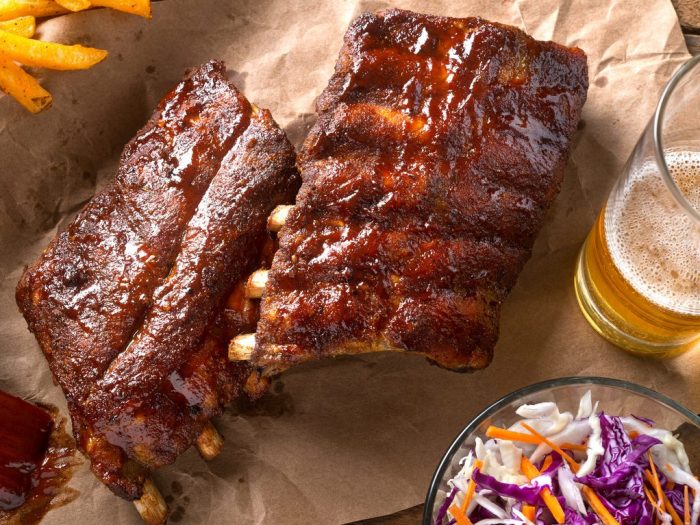



My boyfriend and I will be celebrating our fifth anniversary. We both decided to have a dinner at my place. With that, I am planning to cook baby back ribs. Thanks for your step-by-step guide. For the ingredients, I’d like to purchase as early as now. Hopefully, I find a good barbecue sauce for the glaze.
We’re so glad we could help, Victoria! Happy 5th Anniversary! 🎈🎈🎈